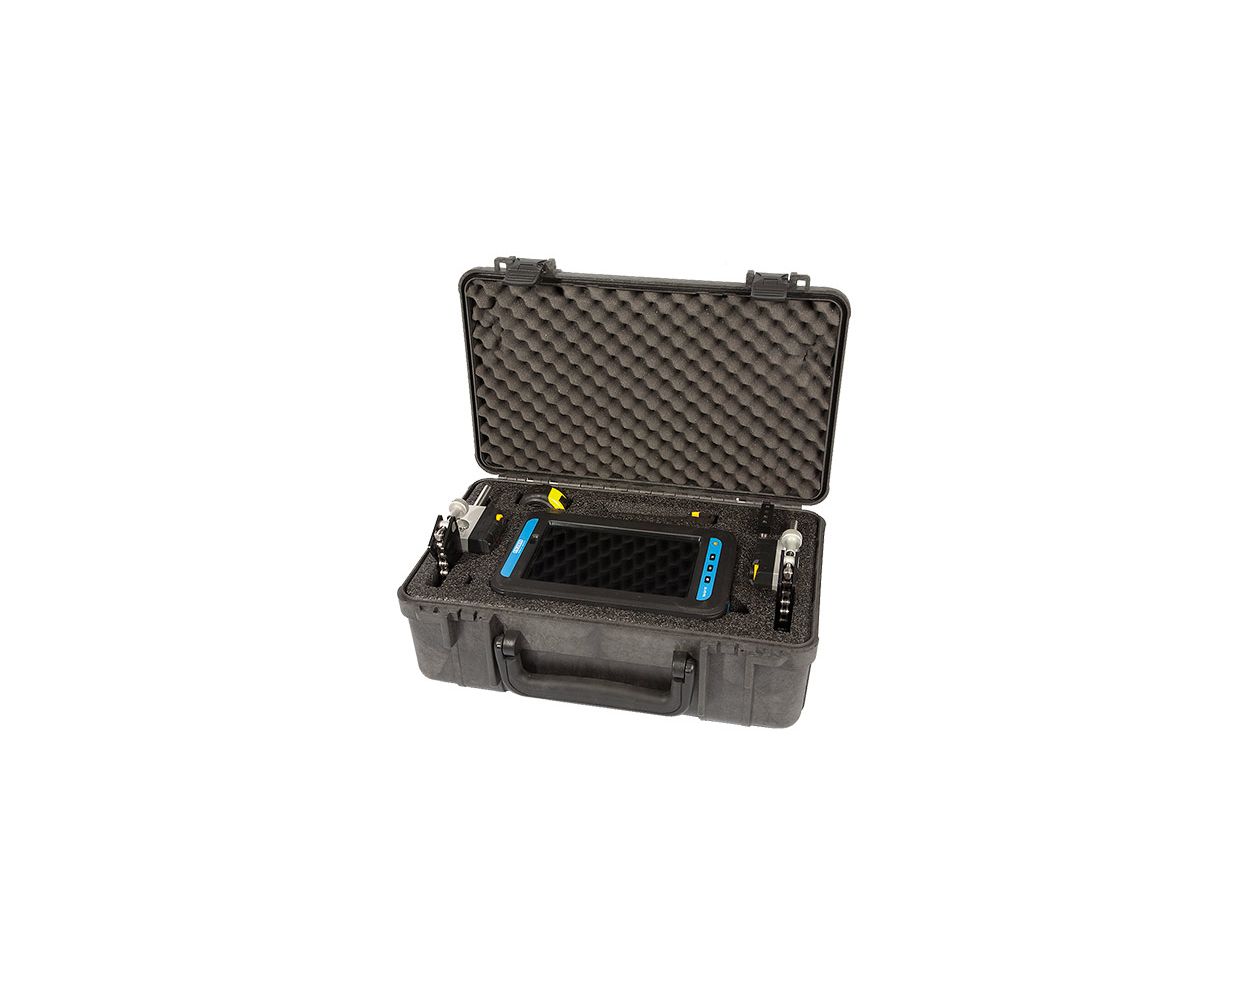
XT550 Atex zone 1 Intrinsically safe laser shaft alignment
*Prices are Excl. VAT, duty and shipping costs and may change due to exchange rate.
The XT550 alignment system has all the features of the XT660 with one major difference – it’s intrinsically safe and can be used in potentially hazardous areas. With XT550 you can carry out the following:
Align the machine
Check base twist
Check bearing play
Check soft foot
Document and share the results
XT550 Atex zone 1 Intrinsically safe laser shaft alignment
INTRINSICALLY SAFE FOR POTENTIALLY EXPLOSIVE AREAS
The Ex-approved XT550 system is developed for hazardous areas and is easily operated through our XT Alignment app. It is an advanced measurement system for alignment of horizontal and vertical/flange mounted rotating machinery.
It comes with Easy-Laser’s dot laser technology, allowing you to measure large machinery and long spans. The measuring units are approved in accordance with the latest ATEX directive, and are rated both IP66 and IP67 water and dust proof.
CHOOSE YOUR OWN DISPLAY UNIT
System XT550 comes in two configurations; with or without the ATEX approved ecom Tab-Ex® display unit. The XT Alignment app runs on most iOS and Android units, as well as our own display unit XT11. However, those are not allowed in potentially explosive areas, but makes for a perfect complement for use in other places.
Note. For use in Ex-classed areas, the mobile device you’re using must be approved for these areas. Always check for approval labels before entering potentially explosive areas. The XT11 is not Ex/ATEX approved.
Ex/ATEX approved
Continuous sweep
Multipoint
Display data on multiple platforms
Free app – no license needed
Unique documentation possibilities
PROGRAMS AND FUNCTIONS
The key to a quick and reliable measurement are programs that guide you through the measurement process. The Easy-Laser® systems support you with smart functions and a clear user interface. Still, it is not our products that do the job, but you as a professional technician!
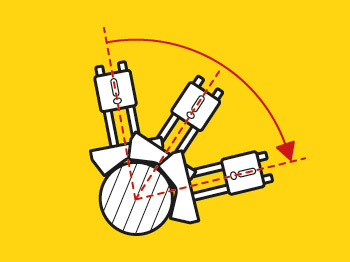
EASYTURN™ FUNCTION
The EasyTurn™ function allows you to begin the measurement process from anywhere on the turn. You can turn the shaft to any three positions with as little as 20° between each position to register the measurement values. Voila! Measurement is complete!
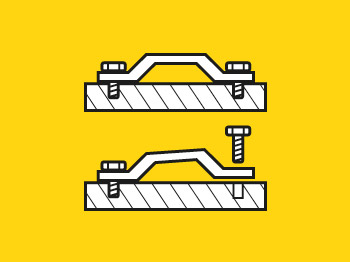
SOFT FOOT CHECK
Alignment work begins with a soft foot check. The soft foot check ensures that the machine is resting evenly on all its feet by indicating which foot/feet should be adjusted. This is an important part of securing a reliable alignment. After the soft foot check is com- plete, you can go directly to the alignment program with all of the machine’s distance values saved.
THERMAL GROWTH COMPENSATION
Oftentimes, machines expand considerably when moving from a cold to hot operating temperature. The Thermal Growth Compensation function allows the measurement system to calculate the appropriate shims and values needed to make adjustments in such cases. Compensation values for the machines are normally supplied by the manufacturers.

MEASUREMENT VALUE FILTER
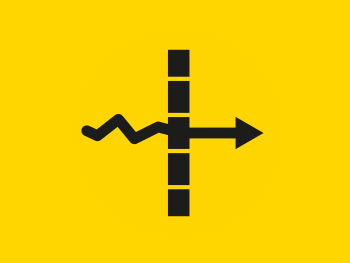
An advanced electronic filter function can be used to achieve reliable results even under poor measuring conditions. Air turbulence and vibrations from adjacent machines are no match for the Easy-Laser® filter function!
MULTIPLE SETS OF FEET
The software can adjust to machine designs of all types such as those with two pairs of feet, three pairs of feet, and feet in front of the coupling, etc.

SWAP VIEW FUNCTION
The swap view function allows you to adjust the position of the motor on screen to correspond with the position of the machine in front of you, making it easier to understand adjustment directions.

HORIZONTAL MACHINES
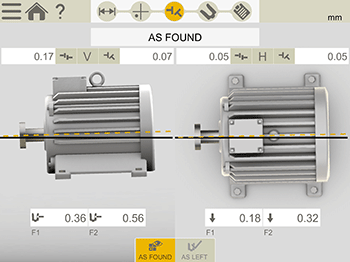
The user interface is intuitive and guide you through the measurement process. It is animated and zooms into the most important things for each step. You can save the measurements of a machine for As found and As left in the same file.
BUILT-IN MANUAL
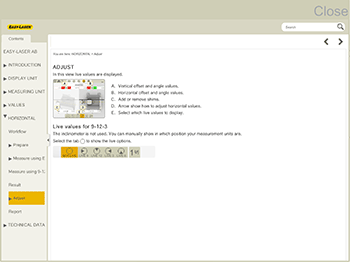
The app includes a searchable Users Manual which opens the right chapter depending where in the process you are. This makes it quick and easy to find the answer to your user questions.
VALUES – DIGITAL DIAL INDICATORS
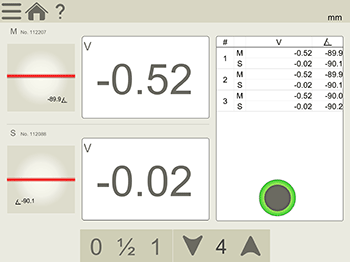
The Values program has a clear digital representation of the laser target, and a list view for recorded values. Use it to measure as with dial gauges and to check bearing play.
VERTICAL/FLANGE MOUNTED MACHINES
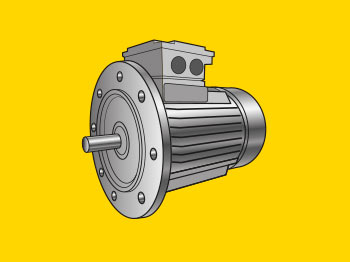
For measurement and alignment of vertically and flange mounted machines. (Available during 2017)
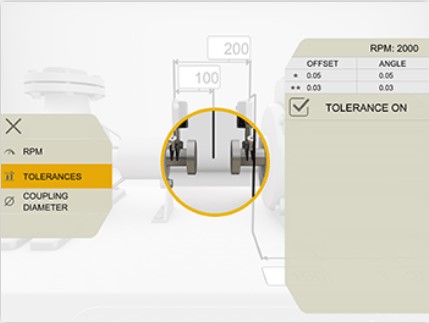
TOLERANCE CHECK
Measurement results can be checked against pre-defined tolerance tables or values you determine yourself. This allows you to immediately see if the alignment is within the approved parameters, thereby considerably reducing the amount of time spent on alignment.
CONTINUE SESSION
Your latest measurement is always available, automatically saved.

LOCKED FEET
Lock any pair of feet on the machine. Used when aligning base-bound or bolt-bound machines.
WIDE LIVE ADJUSTMENT
Adjust with live values also when measuring units are positioned up to 44° from absolute V and H position.
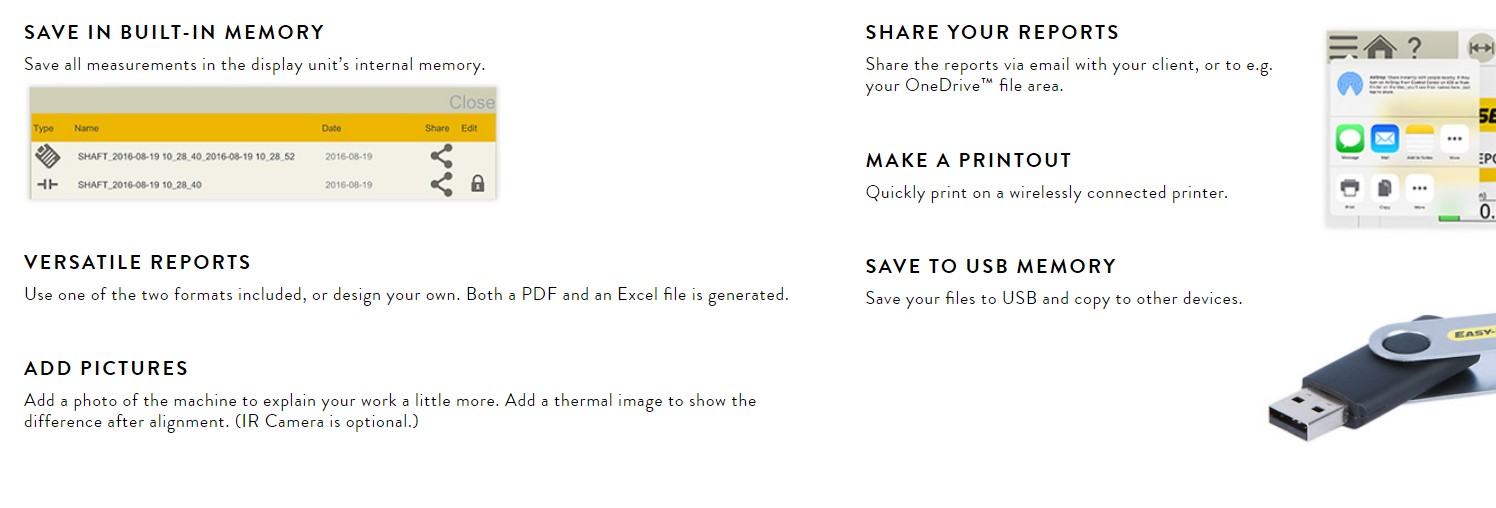
DOCUMENT YOUR DATA:
Downloads
 XT550_brochure_05-0898_rev1_eng_CommCo.pdf
For orders under € 450 we charge € 25 order costs.
Prices shown on this website are before taxes, currency changes and shipping costs.
For an accurate price please contact our sales team at info@comm-co.com

